Travel photography is more than just snapping vacation pictures; it’s about telling a story, evoking emotion, and preserving the beauty of the world through your lens. For many, a trip is a fleeting experience, but a well-captured photograph can transport you back to that moment, that feeling, or that incredible vista. Whether you’re a seasoned globetrotter or planning your first international adventure, elevating your vacation snapshots into breathtaking images is an achievable goal. This comprehensive guide provides essential travel photography tips for beginners and seasoned enthusiasts alike, covering everything from gear selection to advanced composition techniques, ensuring you know how to take better travel photos.
Choosing Your Essential Travel Photography Gear
Before you embark on your photographic journey, selecting the right equipment is paramount. The “best camera for travel photography” isn’t a one-size-fits-all answer; it depends on your budget, skill level, and what you prioritize in terms of portability and image quality.
Camera Bodies: DSLR, Mirrorless, or Smartphone?
- DSLR (Digital Single-Lens Reflex): Known for their robust build, excellent image quality, and vast lens ecosystems. They offer full manual control and optical viewfinders. However, they can be bulky and heavy, which might be a drawback for light travelers.
- Mirrorless Cameras: These are quickly becoming the go-to for many travel photographers. They offer comparable image quality to DSLRs but in a more compact and lighter package, thanks to the absence of a mirror mechanism. They often feature advanced autofocus systems and electronic viewfinders.
- Smartphones: Don’t underestimate the power of your pocket device! Modern smartphones boast incredible camera technology, often with multiple lenses, excellent computational photography features, and 4K video capabilities. They are perfect for quick snaps, sharing on social media, and are undeniably the most convenient option. While they may lack the optical flexibility and raw power of dedicated cameras, they are an excellent starting point for travel photography tips for beginners.
Lenses for Every Scenario
Your choice of lens can dramatically alter your images. For travel, versatility is key:
- Wide-Angle Lens (16-35mm equivalent): Ideal for landscapes, cityscapes, and capturing expansive scenes. It helps convey the grandeur of a place.
- Standard Zoom Lens (24-70mm equivalent): Often considered a workhorse, this lens covers a versatile range for street photography, portraits, and general travel shots.
- Telephoto Lens (70-200mm equivalent or longer): Perfect for wildlife, architectural details, or compressing distant elements in a scene. It allows you to get closer to subjects you can’t physically reach.
- Prime Lens (e.g., 50mm f/1.8): While fixed focal length, prime lenses often have wider apertures, allowing for stunning low-light performance and beautiful background blur (bokeh), ideal for capturing portraits of locals or food photography.
Essential Accessories
- Tripod: Indispensable for low-light photography, long exposures, and ensuring sharp images when using slower shutter speeds. Travel-sized tripods are a great investment.
- Extra Batteries: Crucial! There’s nothing worse than a dead battery in the middle of a stunning landscape. Always carry at least one spare, fully charged battery.
- Memory Cards: Multiple high-capacity, fast memory cards ensure you never run out of storage and provide a backup if one fails.
- Lens Filters: A Circular Polarizer (CPL) reduces glare and enhances sky saturation, while an ND (Neutral Density) filter allows for longer exposures in bright light.
- Camera Bag: A comfortable, weather-resistant bag that protects your gear and allows for easy access is essential.
Fundamental Photography Techniques for Travelers
Understanding the basics of photography will empower you to move beyond auto mode and take control of your images, making a significant difference in how to take better travel photos.
Understanding the Exposure Triangle
Exposure is controlled by three main settings:
- Aperture (f-stop): Controls the amount of light entering the lens and the depth of field (how much of the image is in focus). Lower f-numbers (e.g., f/2.8) mean more light and a shallower depth of field (blurry background).
- Shutter Speed: Determines how long the camera’s sensor is exposed to light. Fast shutter speeds (e.g., 1/1000s) freeze motion, while slow speeds (e.g., 1/30s or longer) can create motion blur, perfect for waterfalls or bustling city streets.
- ISO: Measures the camera’s sensitivity to light. Lower ISOs (e.g., 100-400) produce cleaner images, while higher ISOs (e.g., 1600+) are useful in low light but can introduce digital noise.
Mastering these three allows you to achieve the correct exposure and creative effects.
Mastering Focus and Depth of Field
Sharp focus is key to professional-looking images. Understand your camera’s autofocus modes (single-shot, continuous, auto-area) and when to use them. Depth of field, controlled by aperture, is vital for isolating subjects or keeping an entire scene sharp.
White Balance and Color Accuracy
White balance adjusts the color temperature of your photos, ensuring whites appear white and colors are true to life. While auto white balance is often good, learning to adjust it (e.g., daylight, cloudy, tungsten) can save you a lot of editing time and give your images a consistent look.
Composition for Stunning Shots: Your Travel Photo Composition Guide
Composition is arguably the most crucial aspect of photography. It’s how you arrange elements within your frame to create a visually appealing and impactful image. This is where your travel photography truly shines.
The Rule of Thirds
One of the most fundamental composition rules, the Rule of Thirds, involves dividing your image into nine equal segments using two horizontal and two vertical lines. Placing your subject or key elements along these lines or at their intersections creates more balanced and engaging compositions than simply centering everything.
Leading Lines and Framing
- Leading Lines: Utilize natural or man-made lines (roads, rivers, fences, walls) to draw the viewer’s eye through the image towards your main subject. This creates depth and guides the narrative.
- Framing: Use elements within your scene (doorways, tree branches, archways) to create a natural frame around your subject. This adds context, depth, and a sense of looking into a scene.
Symmetry and Patterns
Look for opportunities to capture symmetry, especially in architecture or reflections on water. Repeating patterns can also create visually striking and harmonious images. Breaking a pattern with a single element can add interest.
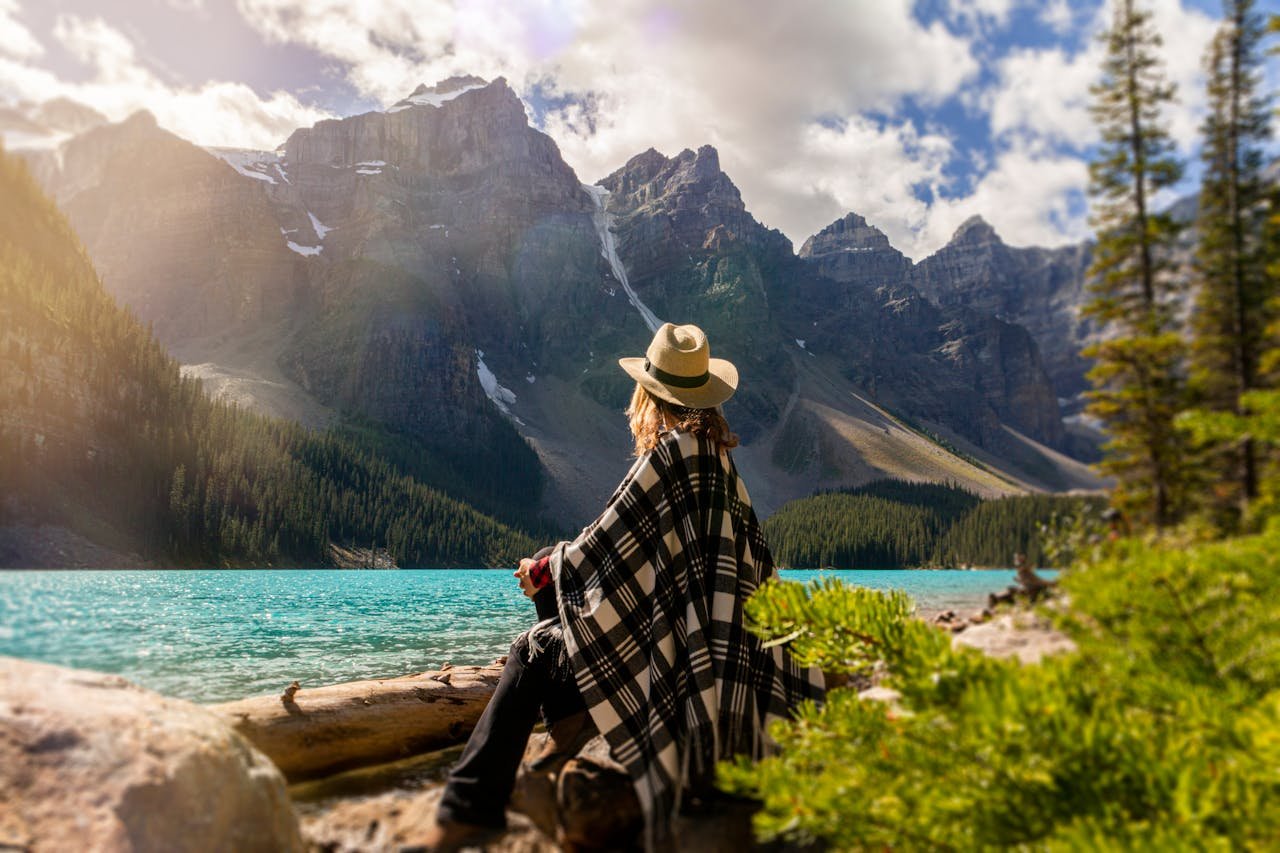
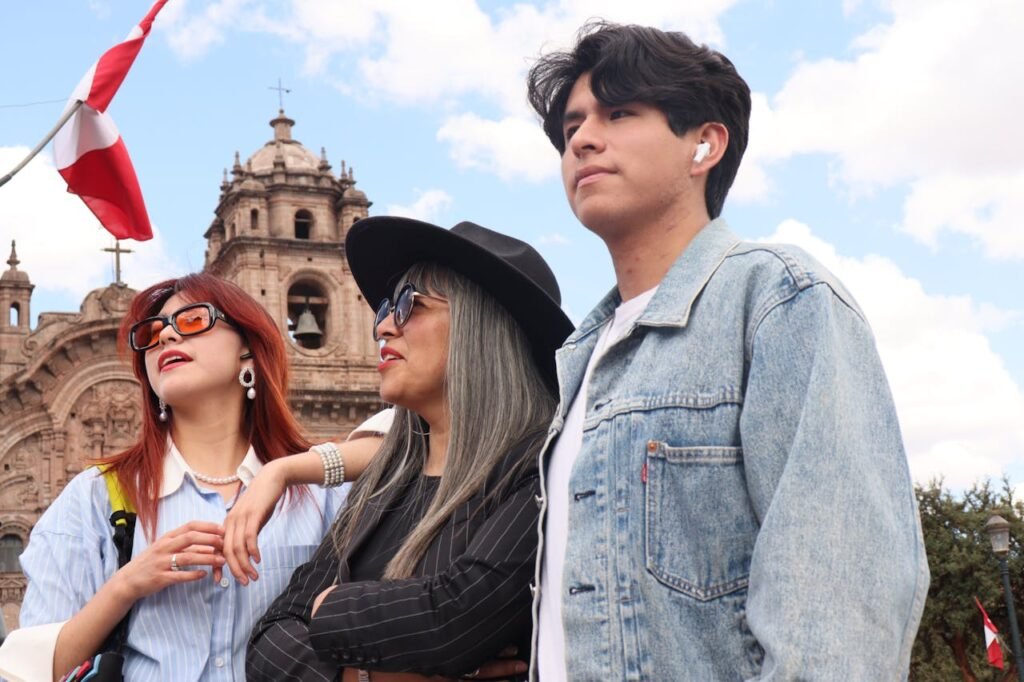
Capturing Emotion and Storytelling
Don’t just photograph places; photograph experiences. Focus on capturing candid moments, local interactions, and the raw emotions of travel. A compelling travel photograph tells a story, making the viewer feel like they were there.
Perspectives and Angles
Experiment! Get low, get high, shoot from unusual angles. Don’t just shoot everything from eye level. A change in perspective can transform an ordinary scene into an extraordinary one. For instance, shooting up at towering buildings or down at bustling markets.
Lighting is Key
Light is the painter’s brush in photography. Understanding how to use natural light effectively is transformative.
Golden Hour and Blue Hour
- Golden Hour: The hour after sunrise and the hour before sunset, when the sun is low in the sky, casting a warm, soft, and flattering light. This is prime time for landscapes, portraits, and architectural shots.
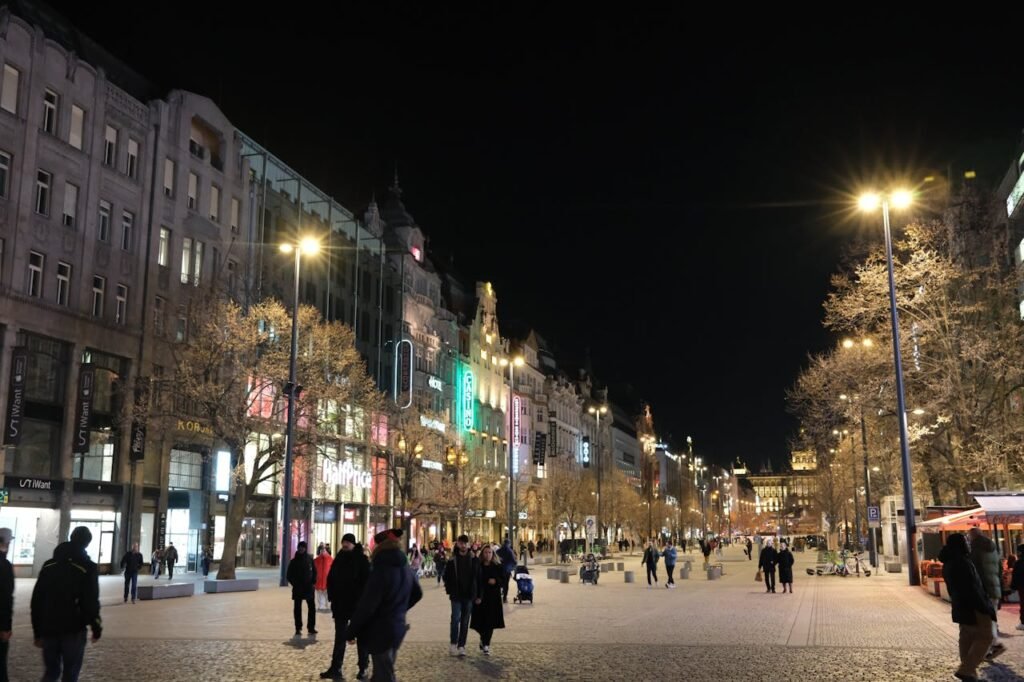
- Blue Hour: The period just after sunset or before sunrise when the sky turns a deep, rich blue. Ideal for cityscapes, capturing neon signs against a dramatic sky, and adding a cool, serene mood.
Dealing with Harsh Midday Sun
Midday sun can create harsh shadows and blown-out highlights. If you must shoot during this time, seek shade, use a diffuser, or look for strong contrasts and shadows that can be incorporated creatively into your composition.
Night Photography Tips
For stunning night shots, a tripod is non-negotiable. Use longer shutter speeds (often several seconds) and higher ISOs (with caution to avoid noise) to capture city lights, star trails, or moonlit landscapes. Experiment with light painting or car light trails for creative effects.
Post-Processing Essentials
Editing is an integral part of modern travel photography. Software like Adobe Lightroom, Photoshop, or even mobile apps can enhance your images. Adjust exposure, contrast, color, sharpen details, and crop to refine your compositions. Remember, editing should enhance, not distort, the reality of the scene.
Practical Travel Photography Tips for Beginners
Here’s a quick reference for aspiring travel photographers:
| Tip Category | Key Action | Benefit |
|---|---|---|
| Preparation | Research your destination | Understand culture, light, and photo opportunities |
| Practice | Shoot locally before you travel | Familiarize yourself with your gear and settings |
| Engagement | Interact with locals, ask permission | Capture authentic moments, show respect |
| Patience | Wait for the right moment, light, or absence | Creates unique, impactful images |
| Backup | Regularly backup photos (cloud/external drive) | Protects against loss and ensures memories are safe |
| Observation | Look for details, textures, and candid scenes | Adds depth and narrative to your travel stories |
| Perspective | Experiment with different angles | Transforms ordinary shots into extraordinary ones |
Research Your Destination
Before you even pack your bags, research the places you’ll visit. Look at other photographers’ work, understand local customs (especially regarding photographing people), and scout for the best viewpoints and times of day for light.
Practice Before You Go
Familiarize yourself with your camera settings and lenses in your hometown. Understand how aperture, shutter speed, and ISO work together. This will save you precious time and frustration when you’re in an unfamiliar location.
Interact with Locals
Some of the most powerful travel photos feature people. Learn a few phrases in the local language, smile, and always ask for permission before photographing individuals, especially children. This shows respect and often leads to more natural and genuine portraits.
Be Patient and Observant
Great shots rarely happen instantly. Wait for the crowds to thin, for the light to change, or for that perfect candid moment. Sometimes, the most compelling stories are found in the subtle details you notice when you take the time to observe.
Backup Your Photos
This cannot be stressed enough. Carry an external hard drive or utilize cloud storage services to back up your photos daily or after significant shooting sessions. Equipment can be lost or stolen, but your memories should be safe.
Conclusion
Mastering travel photography is a journey of continuous learning, but by implementing these travel photography tips for beginners and embracing a curious, observant mindset, you’ll be well on your way to capturing stunning shots worldwide. From selecting the best camera for travel photography to understanding intricate composition techniques and harnessing the power of light, every step contributes to telling a richer, more vibrant story of your adventures. Remember, the goal isn’t just to document; it’s to create art that reflects the beauty and wonder of our planet.
For further inspiration and detailed guides on specific techniques, explore resources like National Geographic’s Photography Tips for expert insights. Delve deeper into the science of light and lenses with articles from DPReview or enhance your post-processing skills with tutorials from Adobe’s Official Photography Blog. Happy travels and happy shooting!